Before You Begin
Uninstalling third-party antivirus products is recommended before installing and configuring these security tools.
These instructions and the provided installer are intended for personally owned devices. If you have a University-owned device, please contact your IT support person or the Help Center at support@nebraska.edu.
Installation Instructions
Step 1: Install the Cortex XDR agent software
- Download the Mac version of Cortex XDR
- Double click the zip to extract the folder.
- Then double click "Cortex XDR.pkg" to start the install. This package must remain in the same folder as the "Con.fig.xml" file for the installation to complete successfully.
- If presented with the message: "Installer would like to access files in your Downloads folder." select "OK"
Step 2: (macOS 10.15 or later) Approve Cortex XDR System Extensions
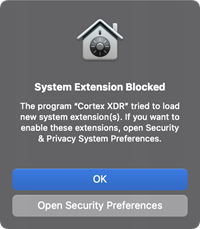
- When installing the Cortex XDR agent on a Mac running macOS 10.15.4 or later, this warning displays twice: first for the Security Extension and then for the Network Extension. However, in both warnings, the operating system displays System Extension Blocked. Select “Open Security Preferences”
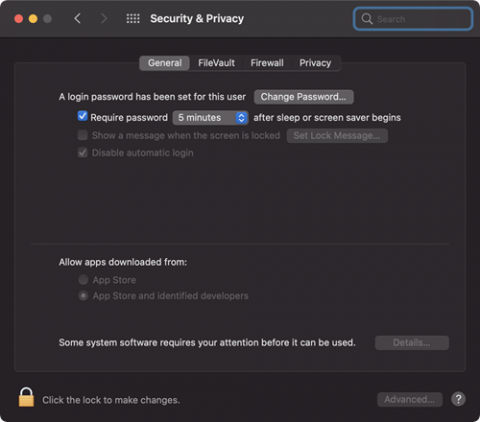
- In System Preferences > Security & Privacy > General, click “Details”.
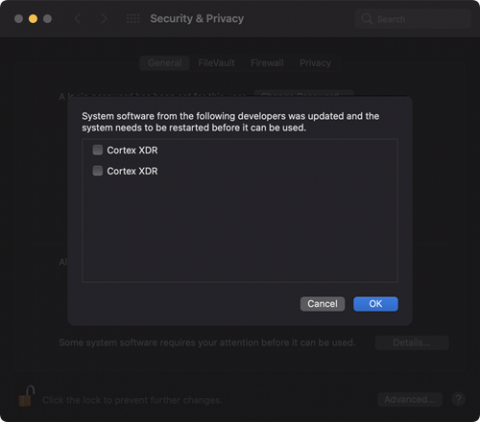
- Select both Cortex XDR System Extensions and click “OK” to allow them. Ignore the message informing that “The system needs to be restarted before it can be used” since this step is not required.
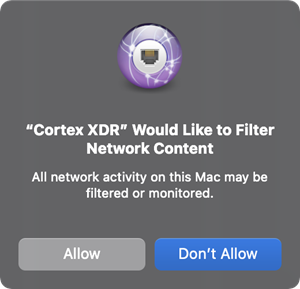
- (macOS 10.15.4 or later) Approve Cortex XDR Web Content Filter. Click “Allow” to enable the Cortex XDR agent to monitor network events.
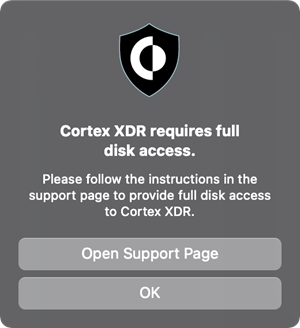
Step 3: (macOS 10.15 or later) Grant full disk access.
Due to changes in the security settings of macOS 10.15, you must allow the Cortex XDR agent full disk access on your endpoint to enable full protection. If you do not authorize the agent full disk access on your endpoint, the agent provides only partial protection of files in the /Applications directory.
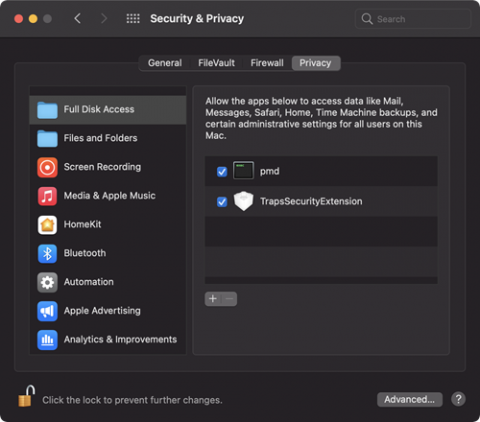
- Go to System Preferences > Security & Privacy tab, and select “Full Disk Access”.
- To make changes, click the padlock icon on the bottom left and enter your credentials, and Unlock.
- Check the box next to “pmd” and “TrapsSecurityExtension”.